163
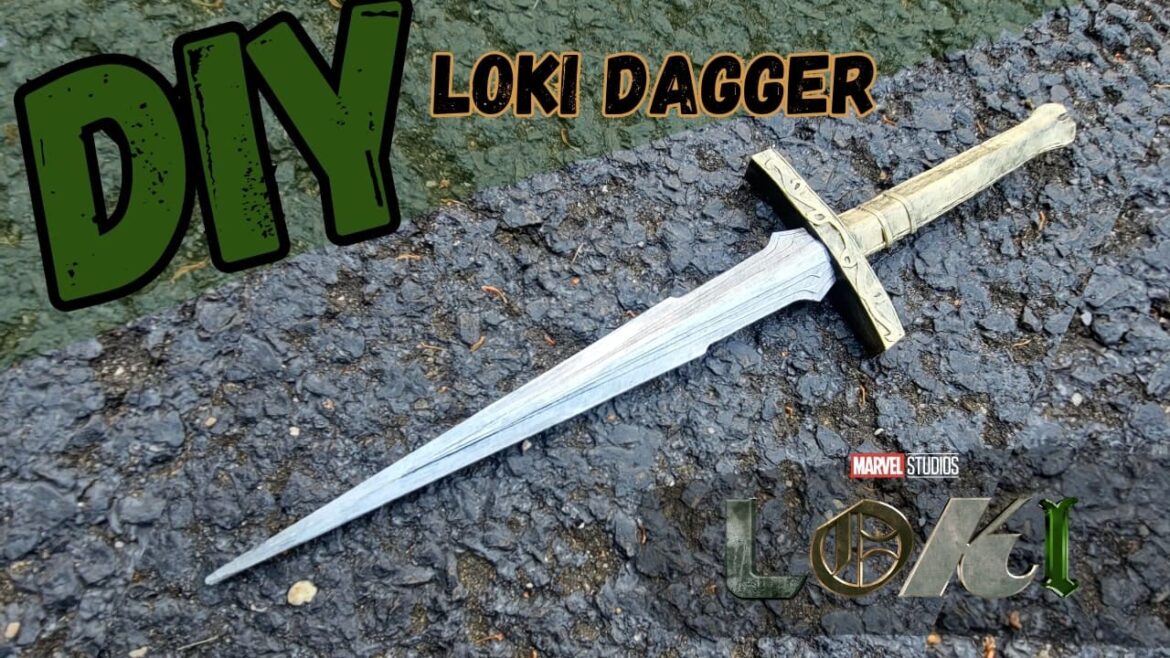
Loki is such an awesome character and always has the coolest looking daggers.
This particular dagger was featured in the first season of Loki on Disney+.
I’m really happy with how it turned out and hope you guys like it too.
It’s the first dagger I’ve ever made and I’m kind of inspired to make more.
I was originally waiting to post this video until season 2 of Loki starts next month, but decided to post it now since Marvel Snap started featuring Loki cards a few days ago.
I really hope you guys like it!
Show:
- Loki: https://amzn.to/3RaUWdm
Materials:
- Computer Paper: https://amzn.to/3B8NpDP
- Modpodge: https://amzn.to/3cxgCho
- Poster Board – Flimsy: https://amzn.to/3OkRojP
- Scissors: https://amzn.to/3v6srlg
- Utility blade: https://amzn.to/3orJXMV
- Pencil: https://amzn.to/3LcHOR2
- Craft Paint (black, silver, gold): https://amzn.to/3v4YUZ2
- Paint Brushes: https://amzn.to/3OluJnf
Steps to Make a Loki Dagger:
- Print template.
- Blade
- Cut pieces out of flimsy poster board, making sure to score down the center dotted line.
- Cut out the 2 base pieces.
- Cut out the 2 decorative pieces using the inner black line.
- Cut out the 2 decorative pieces using the inner blue line.
- Cut out the 2 decorative pieces using the inner green line.
- Fold along the scored lines.
- Take one of the base pieces, glue the decorative pieces on top of it one at a time going from the widest piece to the thinnest piece.
- Allow glue to dry.
- Repeat for the other base piece.
- Slather glue along the edges of one side of the blade.
- Hold the two pieces together until they stick. If you are using Mod Podge, they stick together pretty quickly.
- Cross Guard
- Cut all 5 pieces out from corrugated cardboard.
- Stack/glue together, making sure the piece with the gap in the middle is the center piece out of the 5.
- Cover all the exposed corrugation with scraps of poster board (ie the top, bottom, and two tiny sides).
- Make sure the hole in the center of the top and bottom can fit a pencil.
- Hilt
- Cut the 3 pieces out of corrugated cardboard.
- Stack/glue together, making sure that you can fit a pencil snuggly in between.
- Slather the exposed corrugated edges with glue and pinch closed. This will be a little messy. Allow it to dry completely.
- Wrap the 2 thin decorative poster board strips around the top of the hilt. Glue into place.
- Glue the hilt, crossguard, and pencil together.
- Paint
- When everything is completely dry, paint the hilt/crossguard and the blade in black craft paint.
- When the black paint dries, paint the hilt/crossguard in a thin layer of light gold craft paint.
- When the black paint dries, paint the blade in silver craft paint.
- Glue the blade onto the exposed pencil that’s sticking out the top. It will be a tight fit, but should slide on easily.
- Wait for the glue to dry and Enjoy!
Template to Make a Loki Dagger:
**prints out on regular US Letter paper – 8.5 x 11 inch **

