I thought Captain America’s entrance into the MCU was epic. He first showed up in Captain America: The First Avenger. I rewatched that movie recently and love how that movie used a more rugged costume to show that Captain America was an active solider in the military during wartime. One of my favorite parts of that WW2 costume was his very first shield. It looks more like a traditional shield a knight would use, and it’s that “old school” element that makes it fit perfectly into a historical era.
Fun fact: It’s actually the shield used in the original Captain America comic books!
Anyway, I’ve never made shield out of cardboard before so I thought I’d give it a try to celebrate Captain America’s origins!
Feel free to watch the video and follow the steps below to make your own 1940s Captain America shield!
Material List:
- Computer Paper: https://amzn.to/3B8NpDP
- Corrugated cardboard: https://amzn.to/3IW9mb6
- Scissors: https://amzn.to/3v6srlg
- Poster Board – Flimsy: https://amzn.to/3OkRojP
- Glue gun: https://amzn.to/3PwdPnp
- Glue sticks: https://amzn.to/3PFlX4w
- Craft paint (red, white, blue, grey, brown): https://amzn.to/3v4YUZ2
- Paint Brushes: https://amzn.to/3OluJnf
- Masking Tape: https://amzn.to/3Pv8RaG
* Disclosure: Some of the links above are affiliate links. This means that, at zero cost to you, I will earn an affiliate commission if you click through the link and finalize a purchase. Thank you! *
Steps:
- Print out the template.
- Cut along the edges and tape the pages of the template together.
- Cut out the template of the shield.
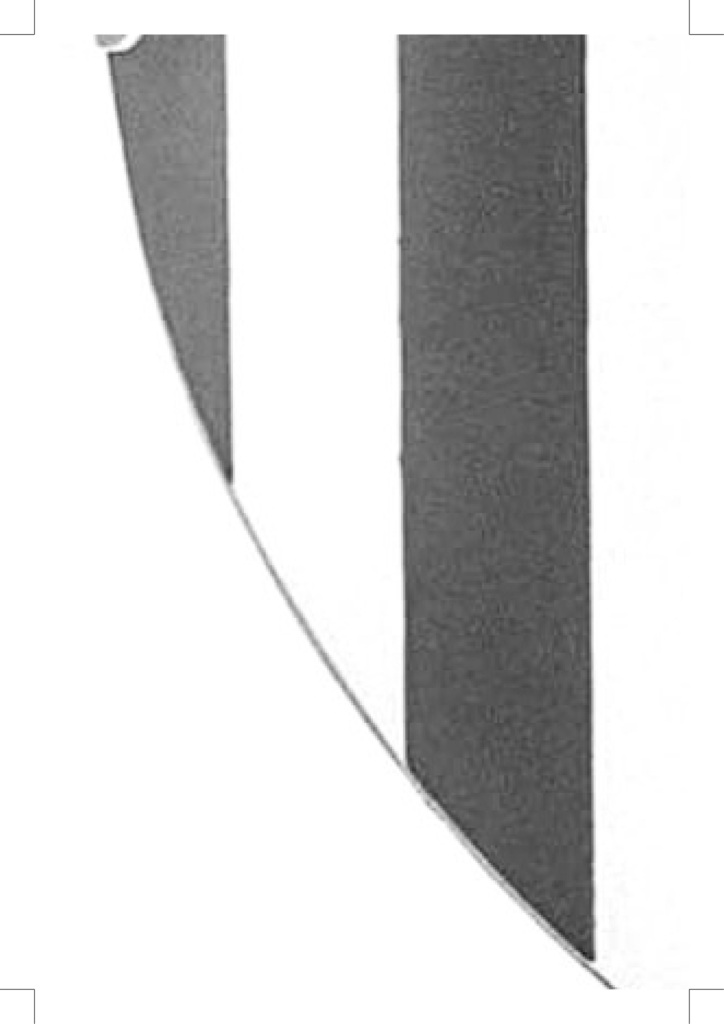
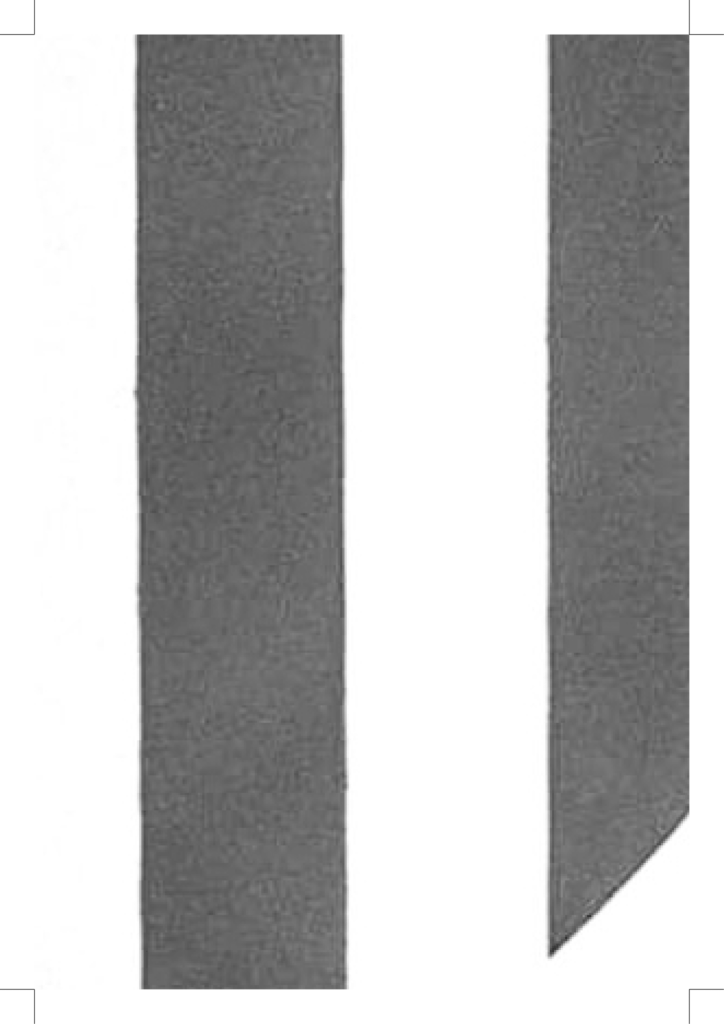
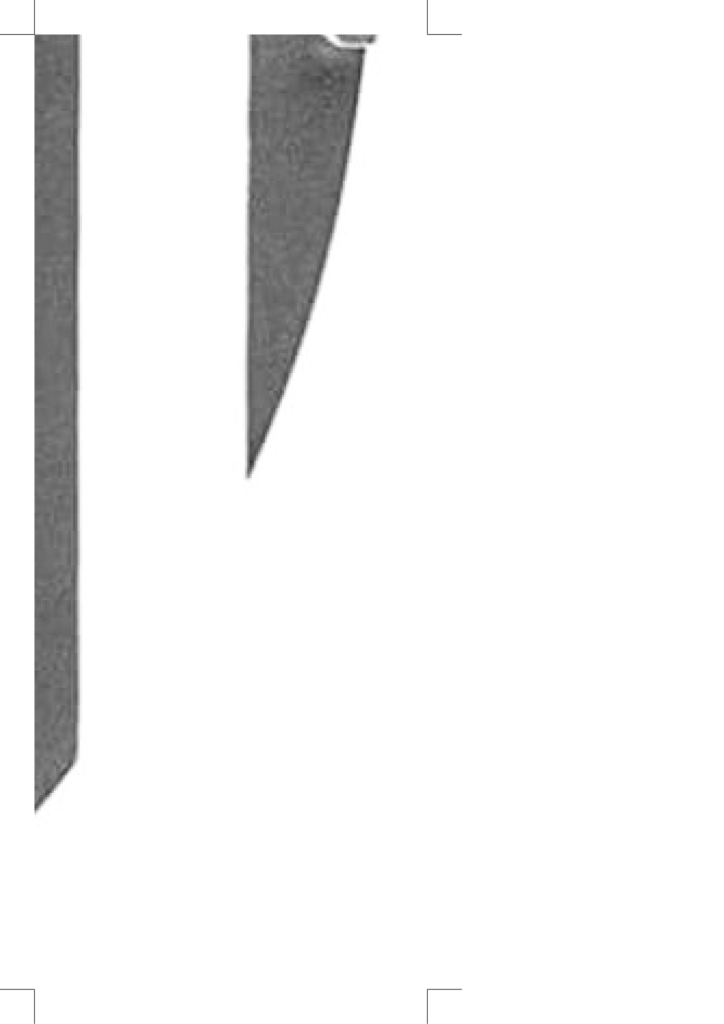
- Trace template onto a large piece of corrugated cardboard with the corrugation lines running vertically (i.e. from top to bottom).
- Use a utility knife to cut out the tracing.
- Carefully bend along the corrugation lines so the shield curves slightly.
- Optional: Hot glue a sheet of flimsy poster board on it. This will help cover up the bends in the corrugation. Cut off the excess so you’re left with just the shield.
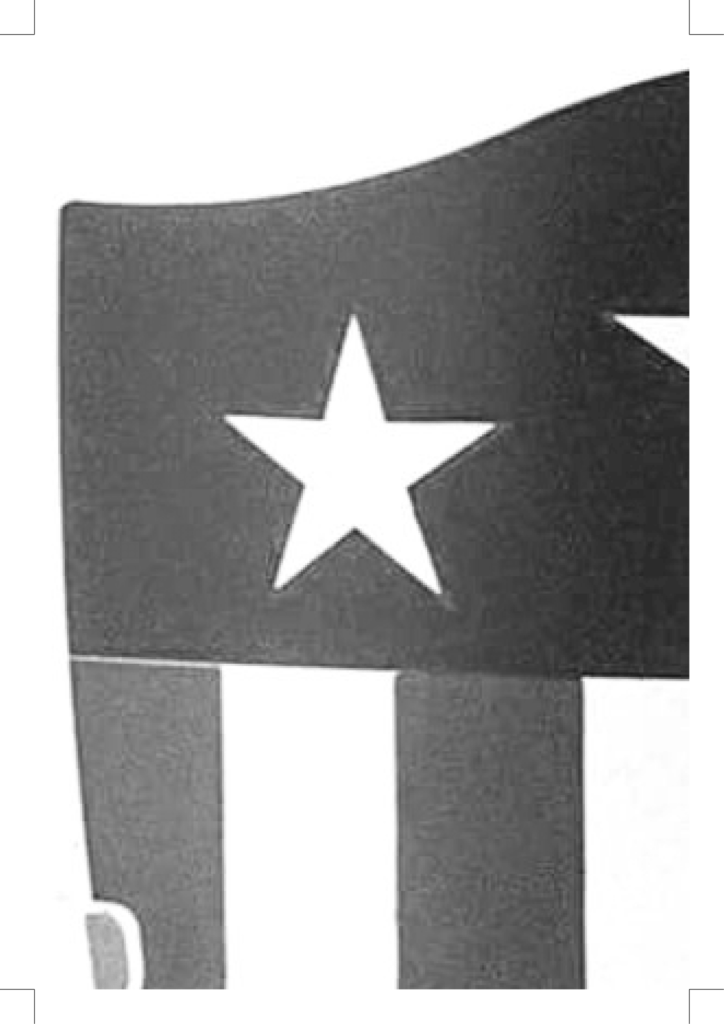
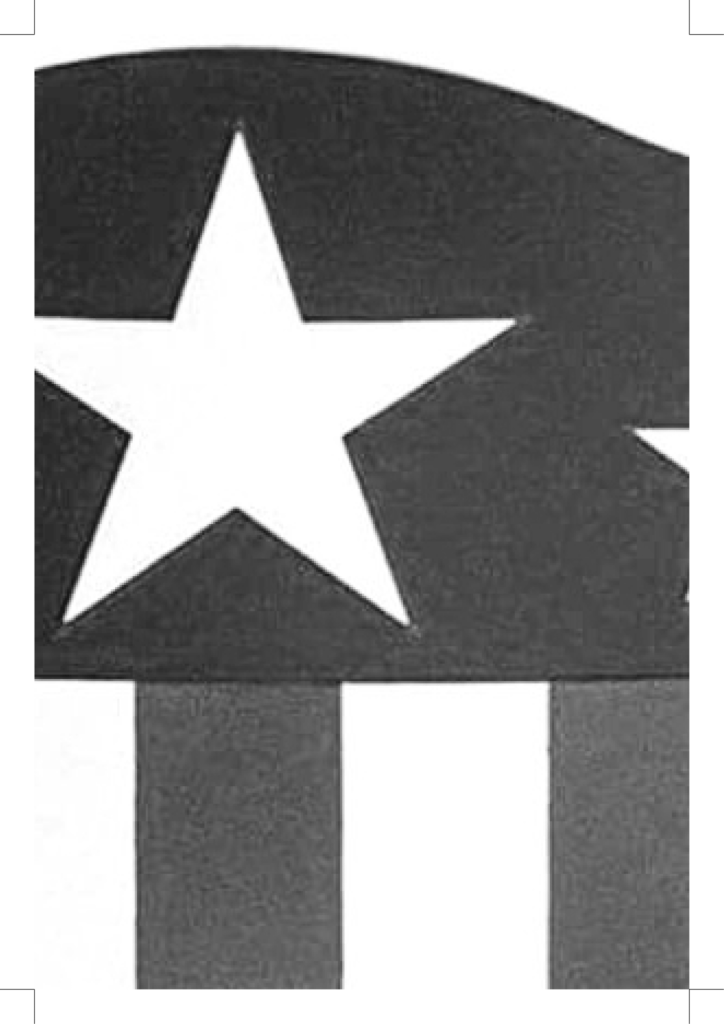
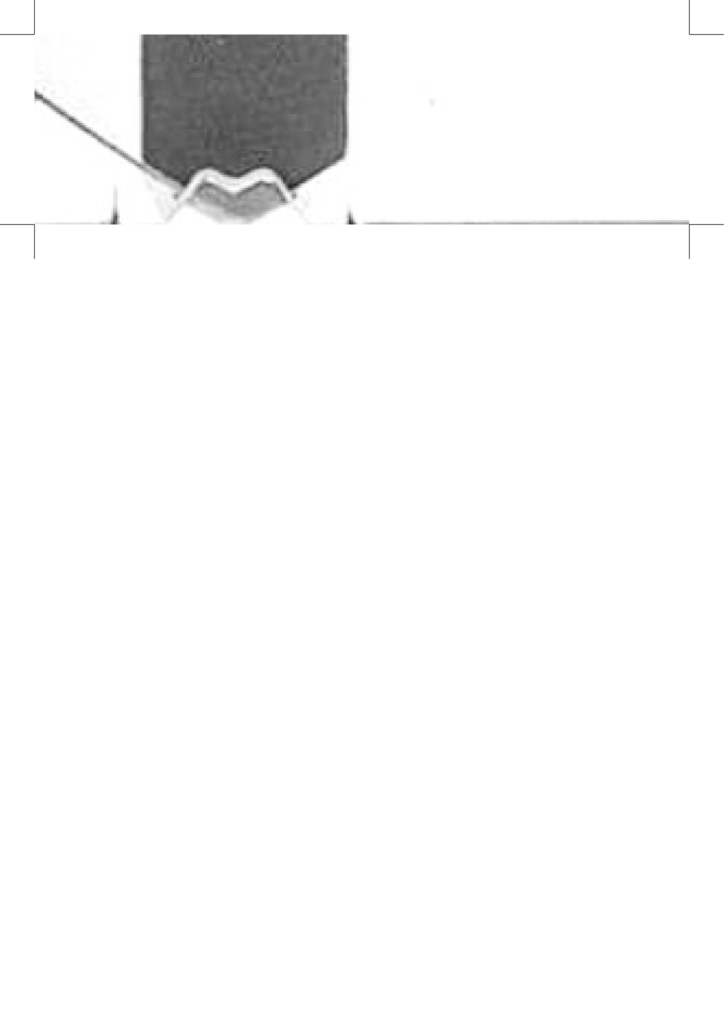
- Use a utility knife to cut out the white portions of the template (i.e. the white stripes and three white stars).
- Put the template back on the shield and lightly trace the design onto it with a pencil.
- Paint in the red, white, and blue sections. Multiple coats will be needed. White is optional if you covered it in white poster board.
- Optional: Once dried, paint everything with a transparent gloss or a coat of white glue that dries clear. This will help protect it.
- For the back of the shield, hot glue on two pieces of corrugated cardboard that are wrapped in masking tape. These are the straps you will use to hold the shield.
- Paint the back of the shield in a light grey so it looks like steel. Metallic paint would also work.
- Paint the straps in brown so they look like leather.
- Wear and enjoy!
Things I’d Do Differently From My Video/Steps:
There are a few things I would do differently if I were to make this shield again. Lucky for you, making these changes will make it much easier and quicker for you to build this shield. Feel free to make the following adjustments:
- I would have covered the entire template in a layer of packing tape in order to make it more durable when cutting out the white portions (Step #8). The paper is a little flimsy and moves when traced, so a little extra sturdiness would help when the template needs to be moved around.
Template: