144
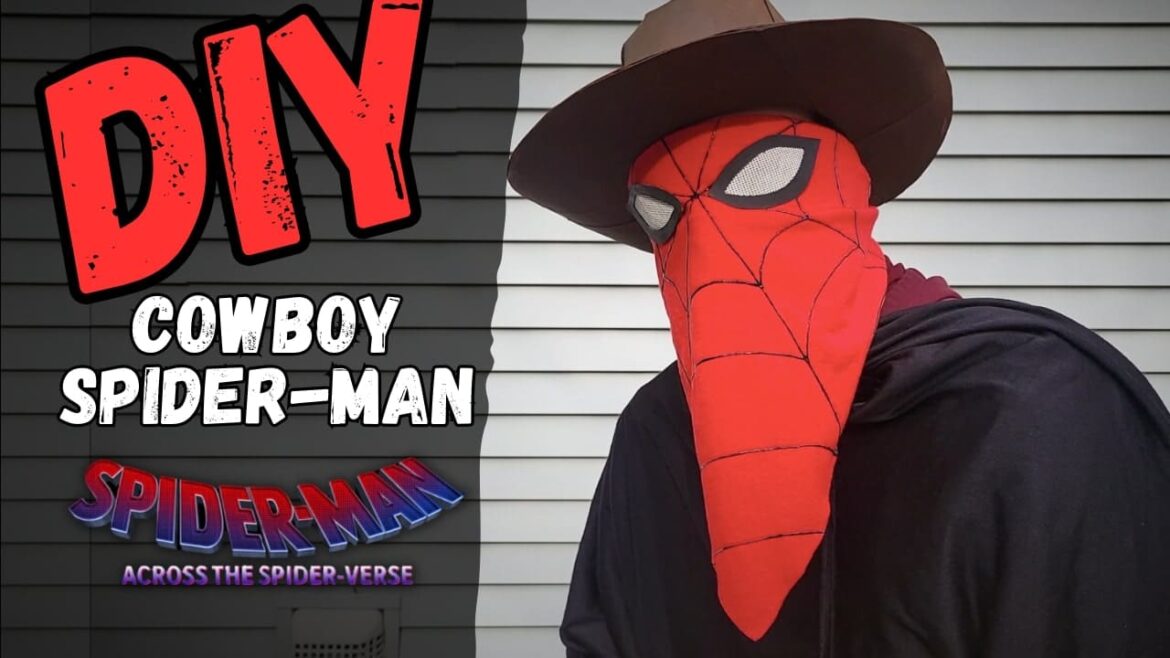
A Cowboy Spider-Man mask and hat made out of cardboard! I really like how it turned out and hope you do too.
It’s a very easy no-sew Spider-Man mask that you can definitely make in an hour or two.
I’ve been wanting to make a Web Slinger costume all year so I’m happy I finally got around to it.
This version of Spider-Man also wears a poncho, but honestly….just throw a blanket over your shoulders and it’ll look legit. And maybe carry around a squirt gun to spray your friends 😛
Movie:
- Across the Spider-Verse: https://amzn.to/3CPmCMF
Materials:
- Computer Paper: https://amzn.to/3B8NpDP
- Poster Board – Flimsy: https://amzn.to/3OkRojP
- Chipboard (I used old cereal boxes): https://amzn.to/3omh7xE
- Scissors: https://amzn.to/3v6srlg
- Utility blade: https://amzn.to/3orJXMV
- Glue gun: https://amzn.to/3PwdPnp
- Glue sticks: https://amzn.to/3PFlX4w
- Modpodge: https://amzn.to/3cxgCho
- Craft paint: https://amzn.to/3v4YUZ2
- Paint Brushes: https://amzn.to/3OluJnf
- Masking Tape: https://amzn.to/3Pv8RaG
- Screen Mesh: https://amzn.to/3aTNT6j
- Black Yarn: https://amzn.to/49cvtGS
- Black Puffy Paint: https://amzn.to/3tRBXen
- Red Fabric: https://amzn.to/45PZUjw (I used an XXL shirt from Michaels…it was the cheapest option I could find)
Steps to Make a Cowboy Spider-Man Mask
- Print out the template.
- Frame
- Tape pieces onto cereal box cardboard. Cut out.
- Tape edges together.
- Tape ear piece on each end.
- Fabric
- Tape pieces together. Make sure to trim the borders off of the template pieces when you tape them together.
- Cut out the triangle.
- Trace onto red fabric. I used a t-shirt.
- Cut out the fabric triangle.
- Tape template onto a window. Tape the fabric triangle on top of it.
- Trace all the web lines with a pencil.
- Remove from the window and lay flat.
- Go over all the lines with a black marker or puffy paint.
- Let the marker and/or paint dry.
- Carefully glue the fabric to the frame.
- A little modpodge on the nose and between the eyes helps secure it.
- Hot glue is needed to glue down the fabric you fold over the top of the mask.
- Snip out the eyes and glue down the flaps on the underside of the mask.
- Eyes
- Cut the eyes out of cereal box cardboard.
- Cut the lenses out of mesh.
- Paint the eyes in black craft paint.
- Paint the lenses in white craft paint.
- Glue lens to the underside of the eyes.
- Glue eyes onto the mask.
- Hat
- Bucket
- Tape together the 4 pieces.
- Cut out of flimsy poster board or carton.
- Cut down all of the black lines, score the gray dotted lines.
- Bring one of the diagonal pieces inward so its edge lines up with the scored line. Glue.
- Bring the diagonal piece on the other side inward so its edge lines with the scored line on that side of the hat. Glue.
- Repeat for the other end.
- For the sides, bring piece inward, lining up the slanted edge with the corner. Glue.
- Do the same for the piece on the other side.
- Repeat for the other side.
- You should have a bucket.
- Cut all the fringe tabs.
- Bend tabs outward.
- Brim
- Line up the 4 pages.
- Tape together and cut out of poster board or cereal box cardboard.
- Repeat so you have 2 brims.
- Bucket
- Assemble
- Slide brim over the bucket.
- Glue all of the tabs onto the brim.
- Glue the second brim to the underside of the 1st brim so all of the tabs are covered.
- Flip hat back over.
- Gently push down on the center of the hat so it bends inward.
- Paint the entire hat in black and brown craft paint mixed together. You want a dark brown.
- Cut badge out of cereal box cardboard.
- Paint in black craft paint and then silver craft paint.
- Glue to the front of the hat after you wrap it in yarn a few times.
- Enjoy!
Template to Make A Cowboy Spider-Man Mask
Not for commerical use. For personal use only.
**print on US Letter – 8.5 x 11 inches**

